Dessert Photography: How to Capture Sweet Perfection
Desserts aren’t just delicious — they’re art. From creamy cakes to pastel macarons, desserts have become one of the most photographed foods online. Scroll through Pinterest or Instagram, and you’ll find endless inspiration filled with chocolate drips, fruit glazes, and artistic styling. That’s the magic of dessert photography — it transforms simple sweets into visual masterpieces.
Whether you’re a beginner, food blogger, or professional photographer, mastering dessert photography is all about combining light, texture, color, and story. In this guide, we’ll explore techniques, setups, and styling tips to help you create drool-worthy dessert photos that not only look stunning but also tell a story.
What Is Dessert Photography?
Dessert photography is a creative branch of food photography focused on capturing the beauty, texture, and emotion behind sweet treats. From soft frosting details to glossy chocolate layers, the goal is to make the viewer crave the dessert through an image.
Good dessert photography doesn’t just show what’s on the plate — it evokes taste, aroma, and mood. That’s why lighting, background, and styling play such important roles. Whether you’re shooting cupcakes, pastries, or ice cream, every photo should make your audience feel the sweetness.
Why Dessert Photography Matters
In the world of digital storytelling, visuals sell faster than words. For bakers, food bloggers, or cafe owners, dessert photography helps:
- Showcase products beautifully on menus, websites, or social media.
- Attract engagement on platforms like Pinterest, where dessert aesthetics are huge.
- Build brand identity through consistent styling and tone.
- Tell a story that connects emotion with taste.
Think of it this way: your dessert might taste amazing, but online audiences can’t smell or taste it — they can only see it. That’s why mastering aesthetic dessert photography is essential to make people want what they can’t physically have.
Essential Equipment for Dessert Photography
You don’t need a professional studio to start. A few essential tools can make your dessert photos look polished and professional.
- Camera or Smartphone: A DSLR or mirrorless camera works great, but newer smartphones also capture stunning dessert shots.
- Tripod: Keeps your shots steady, especially for flat lays or low-light settings.
- Lighting: Natural light is best for desserts. You can also use softbox lights for consistency.
- Reflectors & Diffusers: Control shadows and balance highlights.
- Backgrounds & Props: Wooden boards, marble slabs, or linen cloths add texture and depth to your dessert shots.
Even with minimal equipment, thoughtful styling can elevate your creative dessert photography.
Lighting Tips for Dessert Photography
Lighting is everything. The right light can make a dessert look creamy, dreamy, and irresistible.
- Use Natural Light: Position your setup near a window with soft daylight. Avoid direct sunlight that causes harsh shadows.
- Diffuse Light: Use a white curtain or diffuser to soften the glow.
- Play with Angles: Side light enhances texture, while backlight adds shine to frosting or glaze.
- Avoid Yellow Light: Artificial yellow tones can distort dessert colors. Use daylight bulbs if shooting indoors.
Perfect lighting brings out the true tones of chocolate, fruit, and cream, turning a simple image into mouthwatering art.
Styling and Composition for Dessert Photography
A good dessert photo is more than just the dessert itself — it’s how everything in the frame complements it.
Here’s how to style like a pro:
- Choose a Focal Point: Make one dessert the hero and keep others as background accents.
- Use Props Wisely: Spoons, napkins, or crumbs should enhance, not distract.
- Play with Layers: Use plates, cake stands, or boards to add depth.
- Add Natural Elements: Fresh fruits, flowers, or cocoa powder can bring color and movement.
- Balance Colors: Match your background and props with the dessert’s tone — pastel for soft vibes, dark for moody desserts.
A simple layout with thoughtful details often beats a cluttered scene. That’s the key to minimalist dessert photography — clean, soft, and elegant.
Popular Styles of Dessert Photography
Different moods tell different stories. Here are a few trending styles you can try:
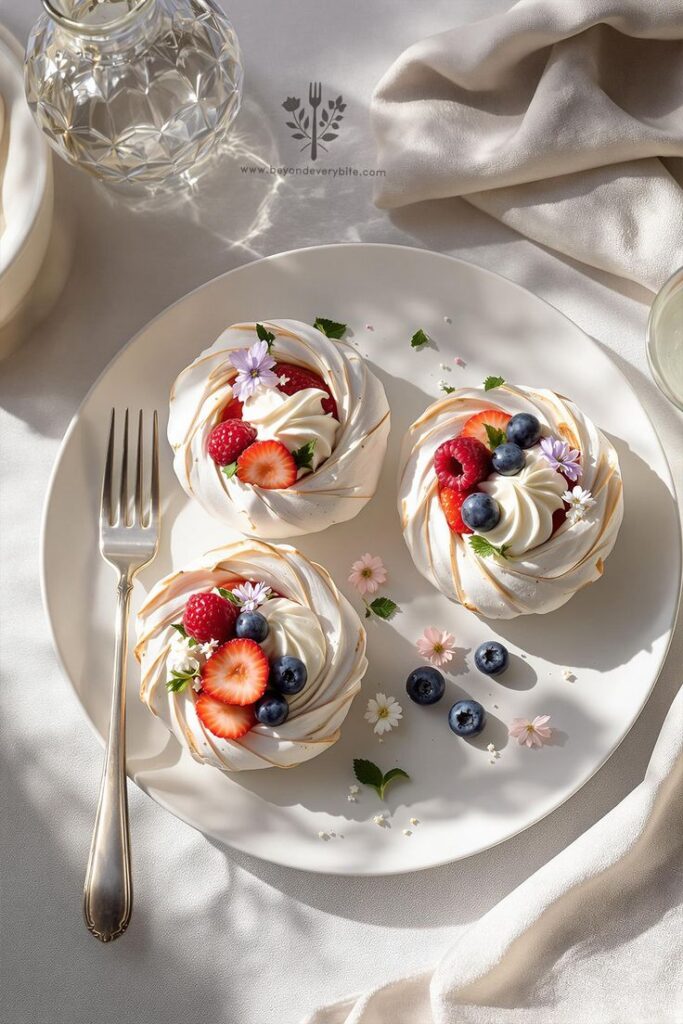
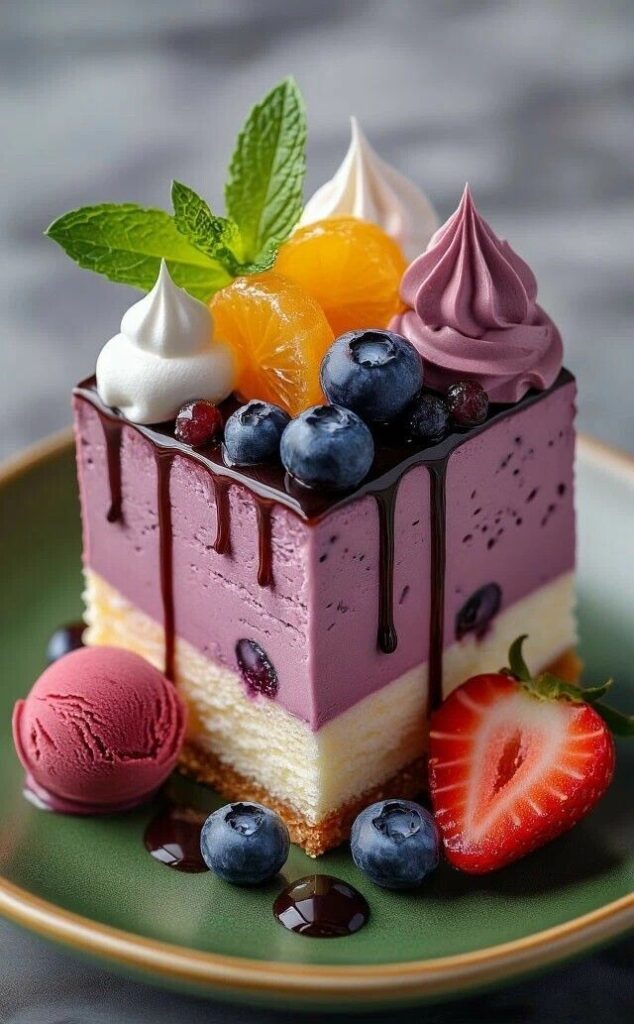
1. Aesthetic Dessert Photography
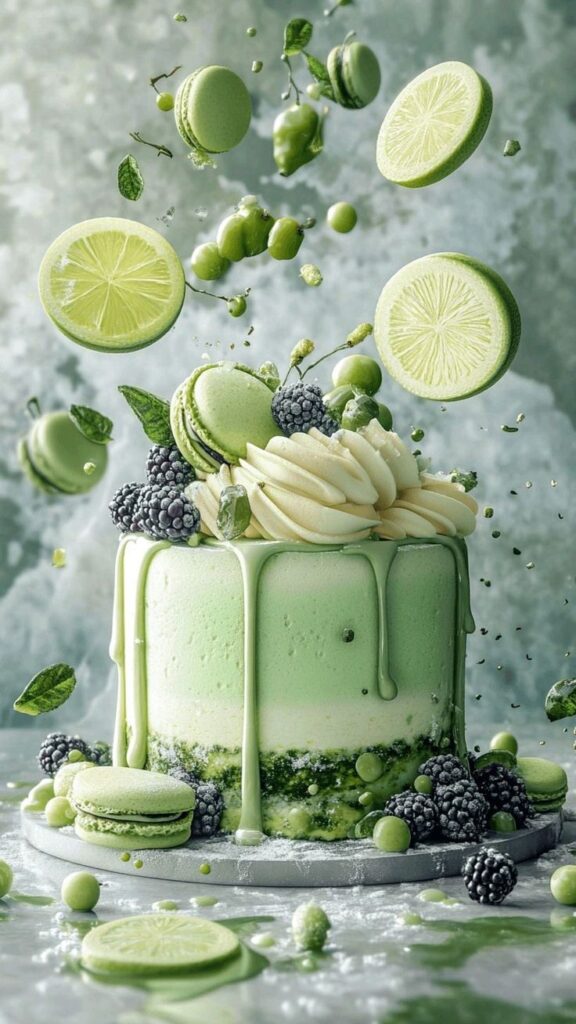
Soft pastel tones, creamy whites, and gentle lighting create a dreamy, Pinterest-worthy look. Perfect for macarons, cupcakes, and cakes.
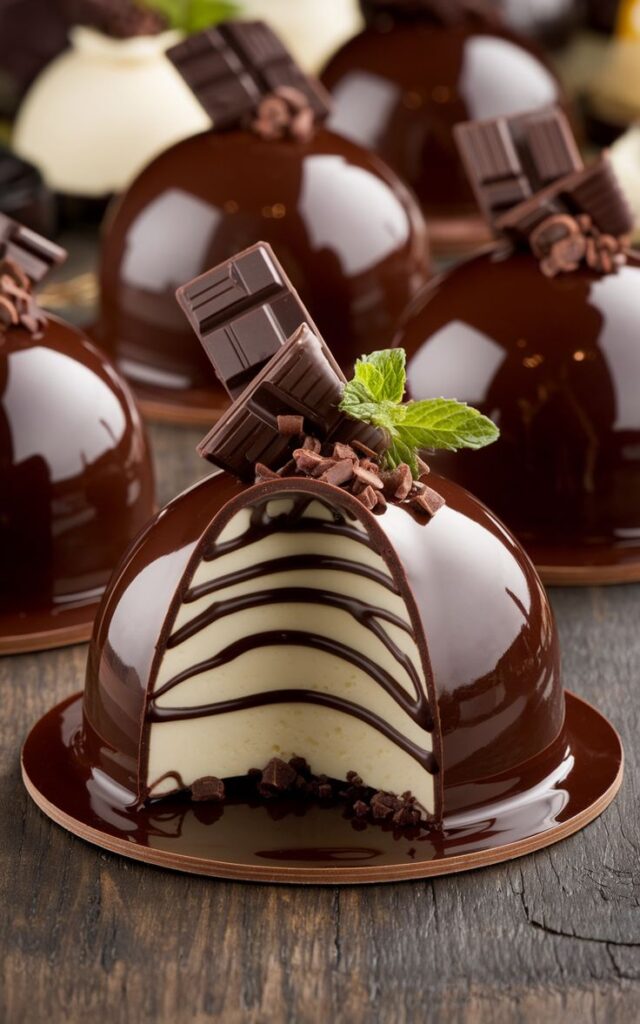
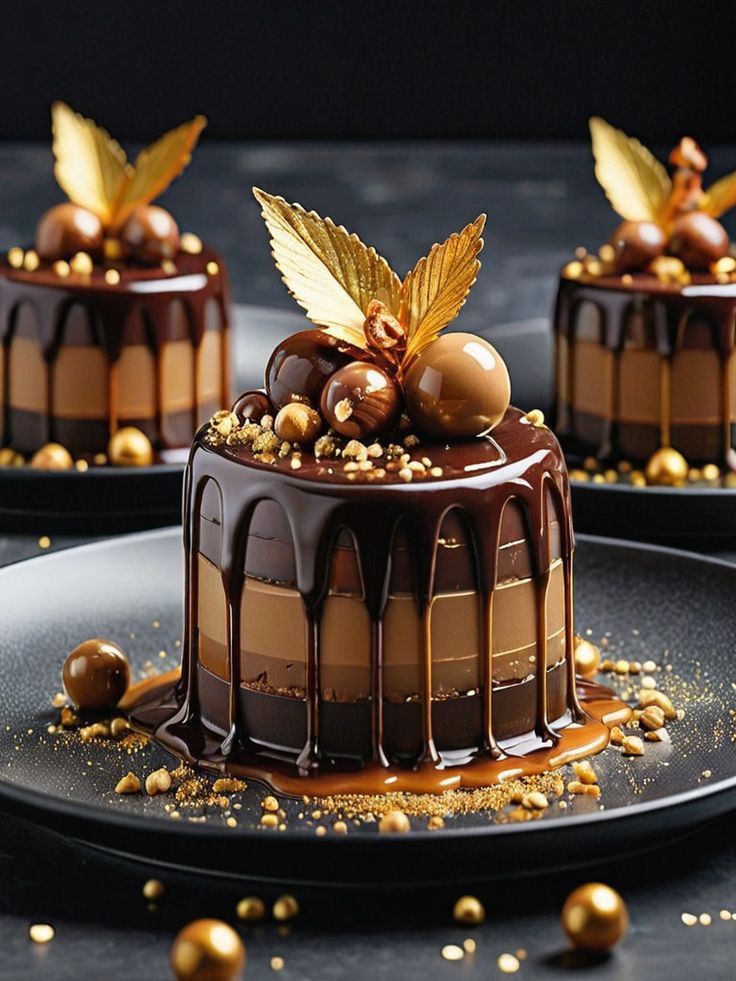
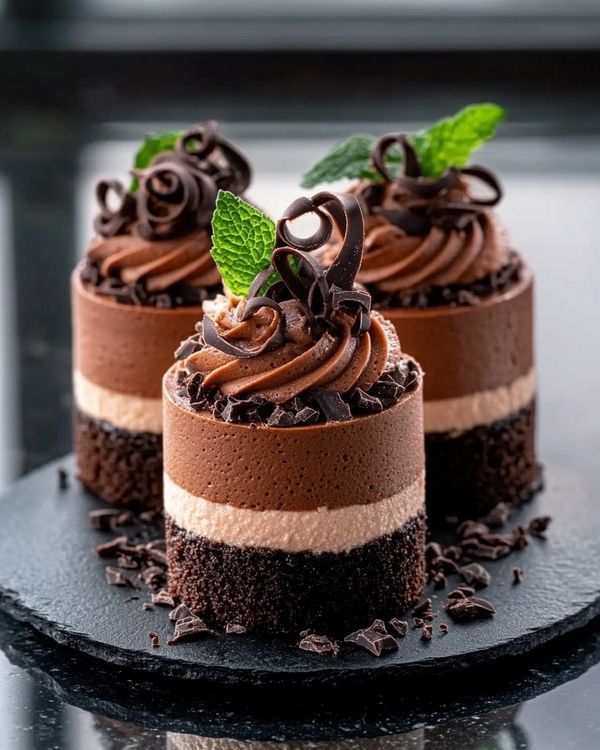
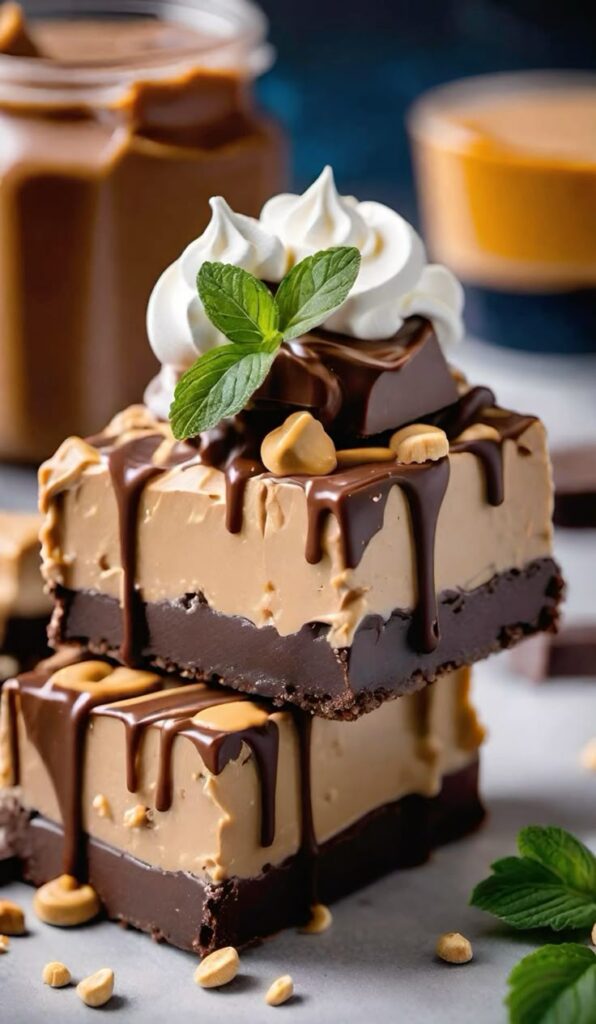
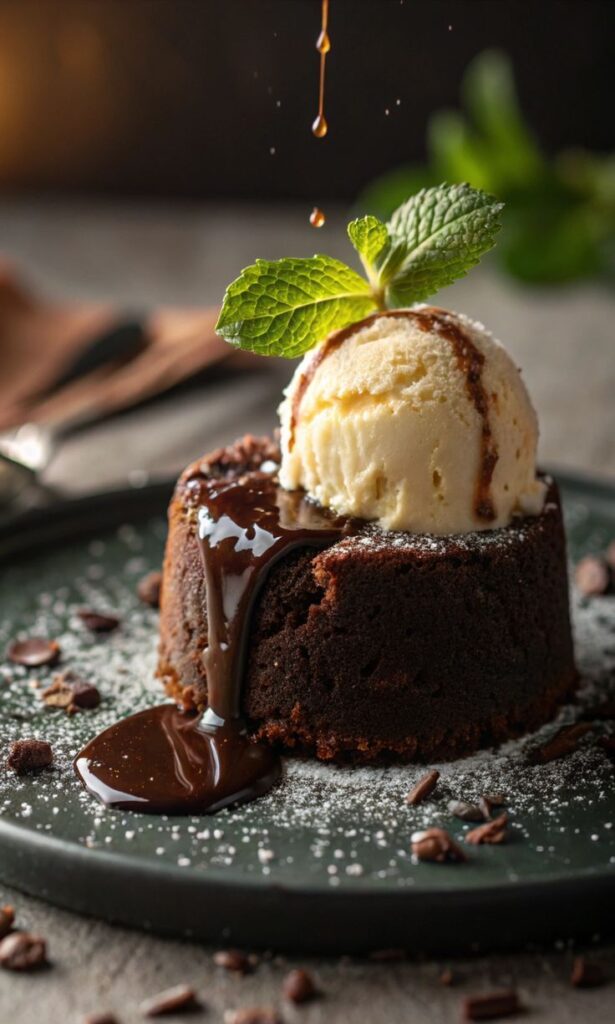
2. Moody Dessert Photography
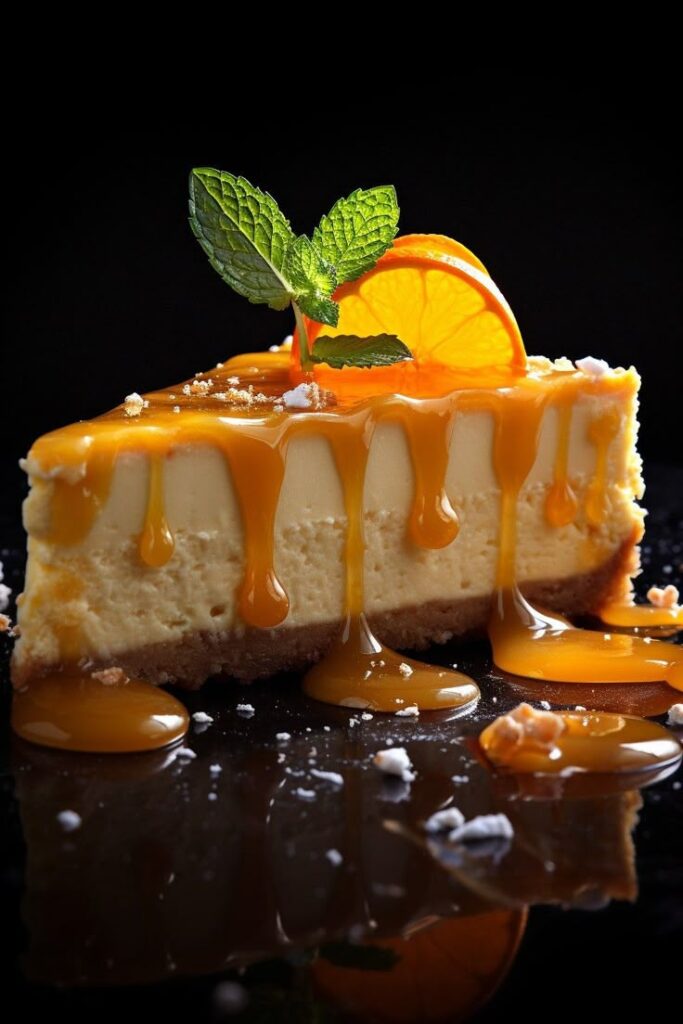
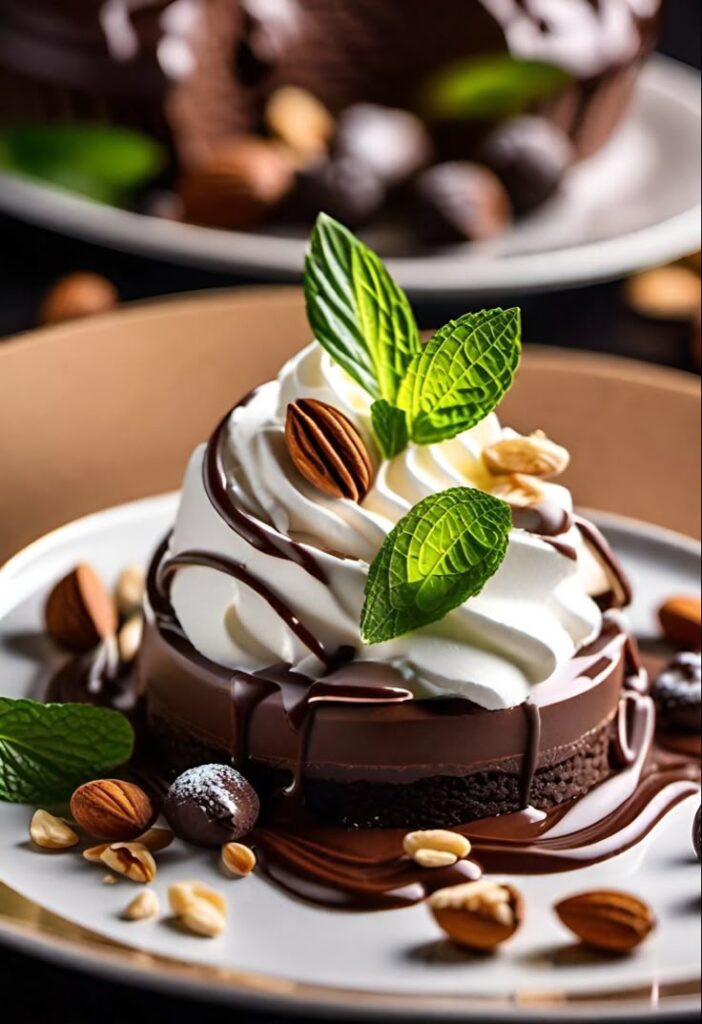
Dark backgrounds, deep shadows, and highlights bring a luxurious, dramatic vibe. Works beautifully for chocolate or coffee desserts.
3. Flat Lay Dessert Photography
Shoot from above to capture all elements — perfect for tarts, donuts, or a dessert spread.
4. Vintage Dessert Photography
Think lace, rustic props, and warm tones. Great for classic pastries, pies, or cozy dessert scenes.
Each style gives your content a distinct identity. Mix and experiment until you find what fits your brand or personality.
Dessert Photography Backgrounds & Props
Choosing the right background sets the tone. Try these combinations:
- White marble for a clean, modern look.
- Wooden texture for rustic warmth.
- Pastel linen for soft and romantic vibes.
- Dark matte board for moody elegance.
As for props, go for small plates, cake stands, fabric napkins, or spoons. Keep it simple — let the dessert shine. Remember, in dessert photography composition, every element should guide the viewer’s eye toward the main subject.
Dessert Photography Tips for Beginners
If you’re just starting out, these quick tips will make your photos instantly better:
- Start with natural light — avoid flash.
- Shoot from different angles: 45°, top-down, or close-up shots work best.
- Focus on details: Capture frosting swirls, crumbs, or fruit glazes.
- Edit gently: Adjust brightness and contrast, but keep colors realistic.
- Plan your shots: Sketch or visualize before shooting to stay consistent.
Even simple dessert photography ideas for beginners can turn into stunning results when lighting and styling are right.
Dessert Photography for Social Media
If you’re shooting for Pinterest, Instagram, or blogs, consistency is key. Use similar tones, lighting, and backgrounds to create a recognizable style.
Some useful dessert photo ideas for social media include:
- Step-by-step layering shots
- Whipped cream close-ups
- Before & after decorating scenes
- Flat lay dessert spreads
- Behind-the-scenes photography setups
Add your logo or watermark to protect your work, and always use hashtags like #dessertphotography or #foodphotography to reach your audience.
Common Mistakes to Avoid in Dessert Photography
Even experienced photographers make these easy-to-fix errors:
- Shooting under yellow or mixed lighting
- Over-editing (especially saturation)
- Using cluttered backgrounds
- Ignoring texture and shine
- Forgetting to clean plates or props
A clean, polished frame is essential — dessert photography thrives on precision.
Dessert Photography Setup Ideas
If you love DIY setups, here are a few quick layouts:
- Natural Light Setup: Window + white foam board + diffuser cloth.
- Moody Setup: Dark background + side lighting + minimal props.
- Pastel Setup: Soft backgrounds + white props + gentle highlights.
Each style helps highlight specific dessert types — from bright fruit tarts to rich chocolate cakes.
Final Thoughts
Dessert photography is where art meets appetite. It’s not just about taking pictures — it’s about capturing emotions, textures, and stories through sugar, cream, and light.
Whether you’re experimenting with creative dessert photography or building your brand as a food photographer, remember: the best dessert photo is the one that makes someone want to taste it immediately.

So, grab your camera, bake something sweet, find that perfect light, and let your desserts shine. With a little patience and creativity, every click can turn a simple treat into a timeless masterpiece.